Leverage technology to help you create Pop Art, generate outlines, and visualize a painting:
If the old masters had access to today’s technology, would they use it? I think they would. Let’s turn back time and see what devices were used hundreds of years ago:
- Johannes Vermeer (1632-1675) is believed to have used the camera obscura, which is an optical device that projects a real-time image through a small pinhole (or lens) into a darkened room.
- Then there is the camera lucida, an optical device which merges an image of a scene and the artist’s hand on paper for tracing. This device was invented by William Hyde Wollaston (patented in 1806) to facilitate accurate sketching of objects.
Fast-forward to today. We have smart phones, smart houses, smart cars… and with all this “smartness” came along many apps to assist with art, creating art, inspiring art, making art. Look at David Hockney’s iPad art. IT IS INCREDIBLE! (Sorry to scream. I am a huge Hockney fan.)
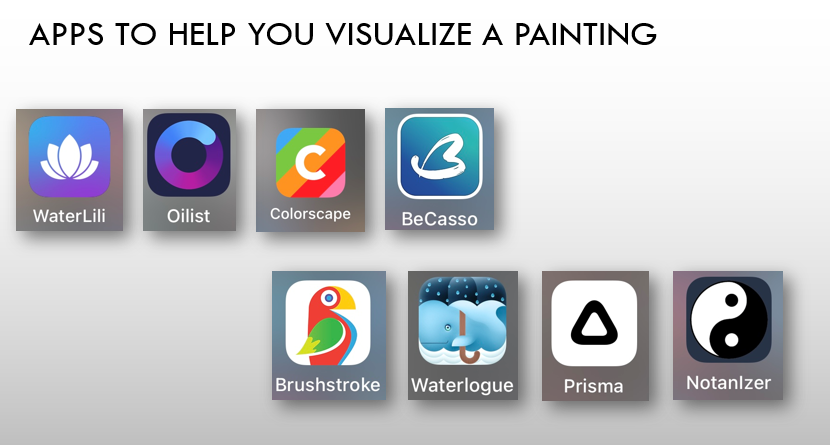
Here are some I use and a few examples: (I have iPad/iPhone, but most of the apps are available on Android.)
How to create Pop Art portraits?
Here is a 32 minute tutorial that shows how I use some of the apps, and it includes how to create Pop Art. You can fast forward to minute 4:32 where I start discussing Pop Art.
I use liquid watercolor when I do Pop Art portraits. I don’t have to worry about mixing up enough paint to do the dark values, and I want consistent color. I use full strength for the darkest value, and then dilute with water for the lighter values.
I use Dr. Ph Martin’s Hydrus or Schmincke’s Aqua Drops. Both are artist grade, lightfast, and awesome to use! Sometimes I use water soluble markers. You could even use ink or liquid acrylic. And of course, you can mix up paint from your pan or tube paints.
Here are some that I use to help create an Outline:
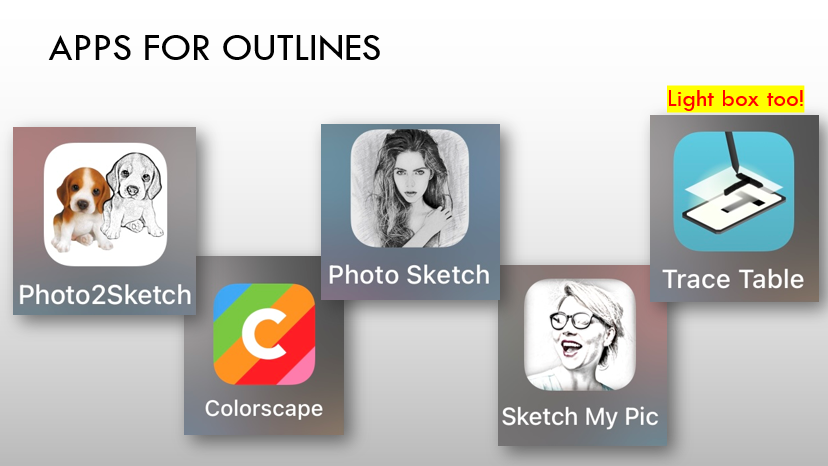
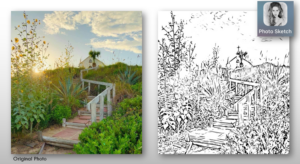
PhotoSketch converts a photo into an outline.
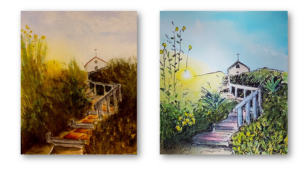
After doing the painting as a line and wash, I wanted to do it in a more loose way.
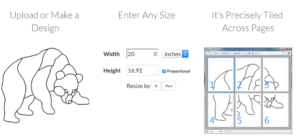
I want to trace my photo, but want it bigger than standard printer paper size. How can I do that?
Use a local print shop, Office Supply store, FedEx Office. They charge by size and paper quality.
I use Rapid Resizer. It is an online (browser) service. You import a photo, set the dimensions, print out the tiles/pages, tape them together — and you will end up with a large image from which to trace. This service is not free, believe it’s USD 11.99 per quarter, or USD 39 per year. It can end up being cheaper than using a print shop if you paint big often.
If you’d like to see more examples, here is a link to my training deck: Leveraging apps to help with art – WBB. Please note that some of the images in the deck are copyrighted, I do not own them. I used them for learning purposes and I do not sell any art derived from these photos.
Would you like to support Watercolor – Beginners and Beyond?

Please consider using these affiliate links when shopping online. Thank you! This helps to pay for prizes and postage to mail the prizes. 🙂
- Amazon Storefront: some of my favorite art goodies
- Amazon
- The Artist Life (for 15% off, use coupon code: DZWC15TAL)
- Jackson’s Art Supply
- SketchBox (10% off with discount code: DiannSketchBox)
- Jackman’s Art Materials (10% off first order using code WBB10)
- Paypal link (if you want to contribute directly to help with postage and prizes)
As an Amazon Associate, The Artist Life Affiliate, Jackson’s Art Affiliate, and Jackman’s Art Materials Affiliate, I earn from qualifying purchases.
#ad
I use any commissions to help pay for postage and weekly challenge prizes.
Other resources you may like:
- How to do a value study
- Painting leaves and water droplets
- Painting guides
- FREE ebooks, classes, and open source photos
- Brusho, Liquid Watercolor and Acrylic Inks
#appsforart #leveragetechnology #artapps #ipadart #popart #popartportrait #notan
Recent Posts
 Watercolor Challenge: WatermelonIn Weekly ChallengeJuly 10, 2026
 Watercolor Challenge: ButterfliesIn Weekly ChallengeJuly 3, 2026
 World Watercolor Month – July 2026In Weekly ChallengeJuly 1, 2026
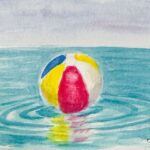 Watercolor Challenge: Beach BallsIn Weekly ChallengeJune 26, 2026
 Watercolor Challenge: Paint this photoIn Weekly ChallengeJune 19, 2026